So you’ve decided to learn Python, but before you write a single line of code, you’re stuck on the very first hurdle — actually getting it installed on your Windows machine. Don’t worry, this trips up almost everyone at the start, and it’s nowhere near as complicated as it feels.
This guide walks you through how to install Python on Windows step by step, with zero tech jargon and no skipped steps.
Why Installing Python Properly Actually Matters
A lot of beginners rush this part and end up with weird errors later — like “Python is not recognized” in the command prompt. Taking five extra minutes now saves you hours of confusion down the road.
Once it’s set up correctly, you’ll be able to run Python scripts from anywhere on your computer without any headaches.
Step 1: Download the Python Installer
First things first, you need the official installer — never download Python from random third-party sites.
- Go to python.org
- Hover over the Downloads menu
- Click the yellow button that says Download Python 3.x.x (it auto-detects Windows)
The site automatically shows you the latest stable version, which is usually your best bet unless a specific project requires an older one.
Which Python Version Should You Choose?
If you’re just starting out, always grab the newest stable release. Avoid Python 2 entirely — it’s outdated and no longer supported.
A quick personal tip: if you’re following a course or tutorial, double-check which version they’re using. Minor differences between versions rarely matter for beginners, but it’s good practice to know.
Step 2: Run the Installer (The Step Everyone Messes Up)
This is the part where most beginners go wrong, so pay close attention here.
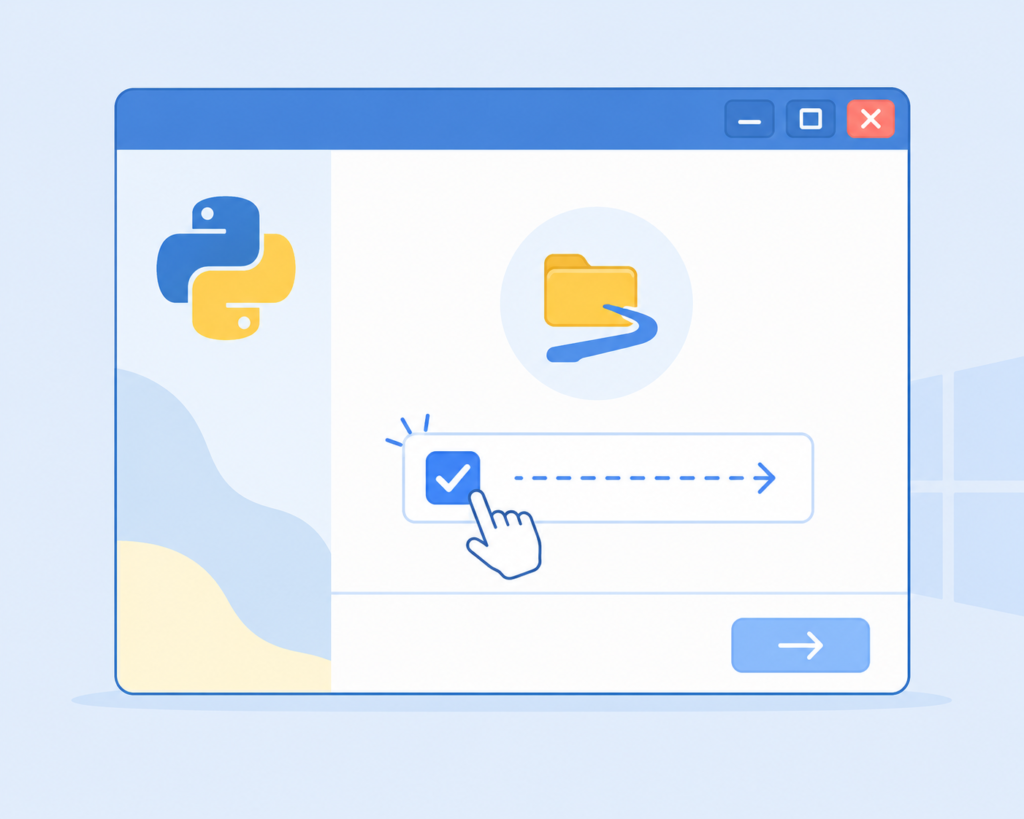
When the installer window pops up, you’ll see two checkboxes at the bottom:
- Install launcher for all users
- Add Python to PATH
Always check “Add Python to PATH.” I can’t stress this enough. If you skip this, your computer won’t know where to find Python when you type commands later, and you’ll be stuck googling fixes instead of writing code.
After checking that box, click Install Now.
Step 3: Let the Installation Finish
Once you click install, Windows will ask for permission to make changes to your device — click Yes.
The installation itself takes a minute or two. You’ll see a progress bar with components being installed, like:
- pip (Python’s package manager)
- IDLE (a basic code editor)
- Documentation files
When it’s done, you’ll see a screen confirming “Setup was successful.” Click Close.
Step 4: Verify Python Is Installed Correctly
Don’t just trust the success message — let’s confirm it actually worked.
- Press Windows + R
- Type
cmdand hit Enter - In the black command prompt window, type:
bash
python --versionIf everything went well, you’ll see something like:
bash
Python 3.12.4If instead you get an error saying Python isn’t recognized, don’t panic — this almost always means the PATH checkbox got missed. We’ll fix that in a second.
Checking pip Installation Too
While you’re in the command prompt, it’s worth confirming pip installed correctly as well, since you’ll use it constantly to install libraries later.
bash
pip --versionYou should see a version number along with the file path it’s installed in. If this works, you’re in great shape.
Fixing the “Python Is Not Recognized” Error
If you ran into that error above, here’s the quick fix without reinstalling everything.
- Search for Environment Variables in the Windows search bar
- Click Edit the system environment variables
- Click the Environment Variables button
- Under “System variables,” find Path and click Edit
- Click New and add the folder path where Python was installed (usually something like
C:\Users\YourName\AppData\Local\Programs\Python\Python312\) - Click OK on everything and restart your command prompt
Run python --version again, and it should work this time.
Step 5: Write Your First Line of Python
Now for the fun part — let’s actually use it. In the same command prompt, type:
bash
pythonThis opens Python’s interactive shell, where you can type code directly and see results instantly.
python
print("Hello, I just installed Python!")Hit Enter, and you’ll see your message printed right back at you. That’s genuinely it — you’re officially running Python on your machine.
Type exit() when you’re done to leave the shell.
Should You Install a Code Editor Too?
Technically you can write Python using Notepad, but I wouldn’t recommend torturing yourself like that. A proper code editor makes learning dramatically smoother.
Some solid beginner-friendly options:
- VS Code — lightweight, hugely popular, tons of extensions
- PyCharm Community Edition — built specifically for Python, slightly heavier
- Thonny — designed for absolute beginners, very simple interface
Personally, I’d suggest VS Code if you plan on eventually learning web development or other languages too, since it works well across the board.
Common Mistakes to Avoid
A few things I see beginners run into constantly:
- Forgetting to check “Add Python to PATH” during install
- Installing multiple Python versions without realizing it, causing version conflicts
- Downloading Python from unofficial websites that bundle unwanted software
- Not restarting the command prompt after making PATH changes
Avoiding these four issues alone will save you a frustrating first week.
Final Thoughts
Installing Python on Windows really comes down to one critical checkbox and a few minutes of patience. Once it’s set up properly, you’re free to focus on the actual fun part — writing code instead of fighting your computer.
Go ahead and try this installation process yourself right now if you haven’t already. And if you hit any error along the way, drop a comment below and I’ll help you troubleshoot it.